
How to Glaze & Fire Clay Ornaments
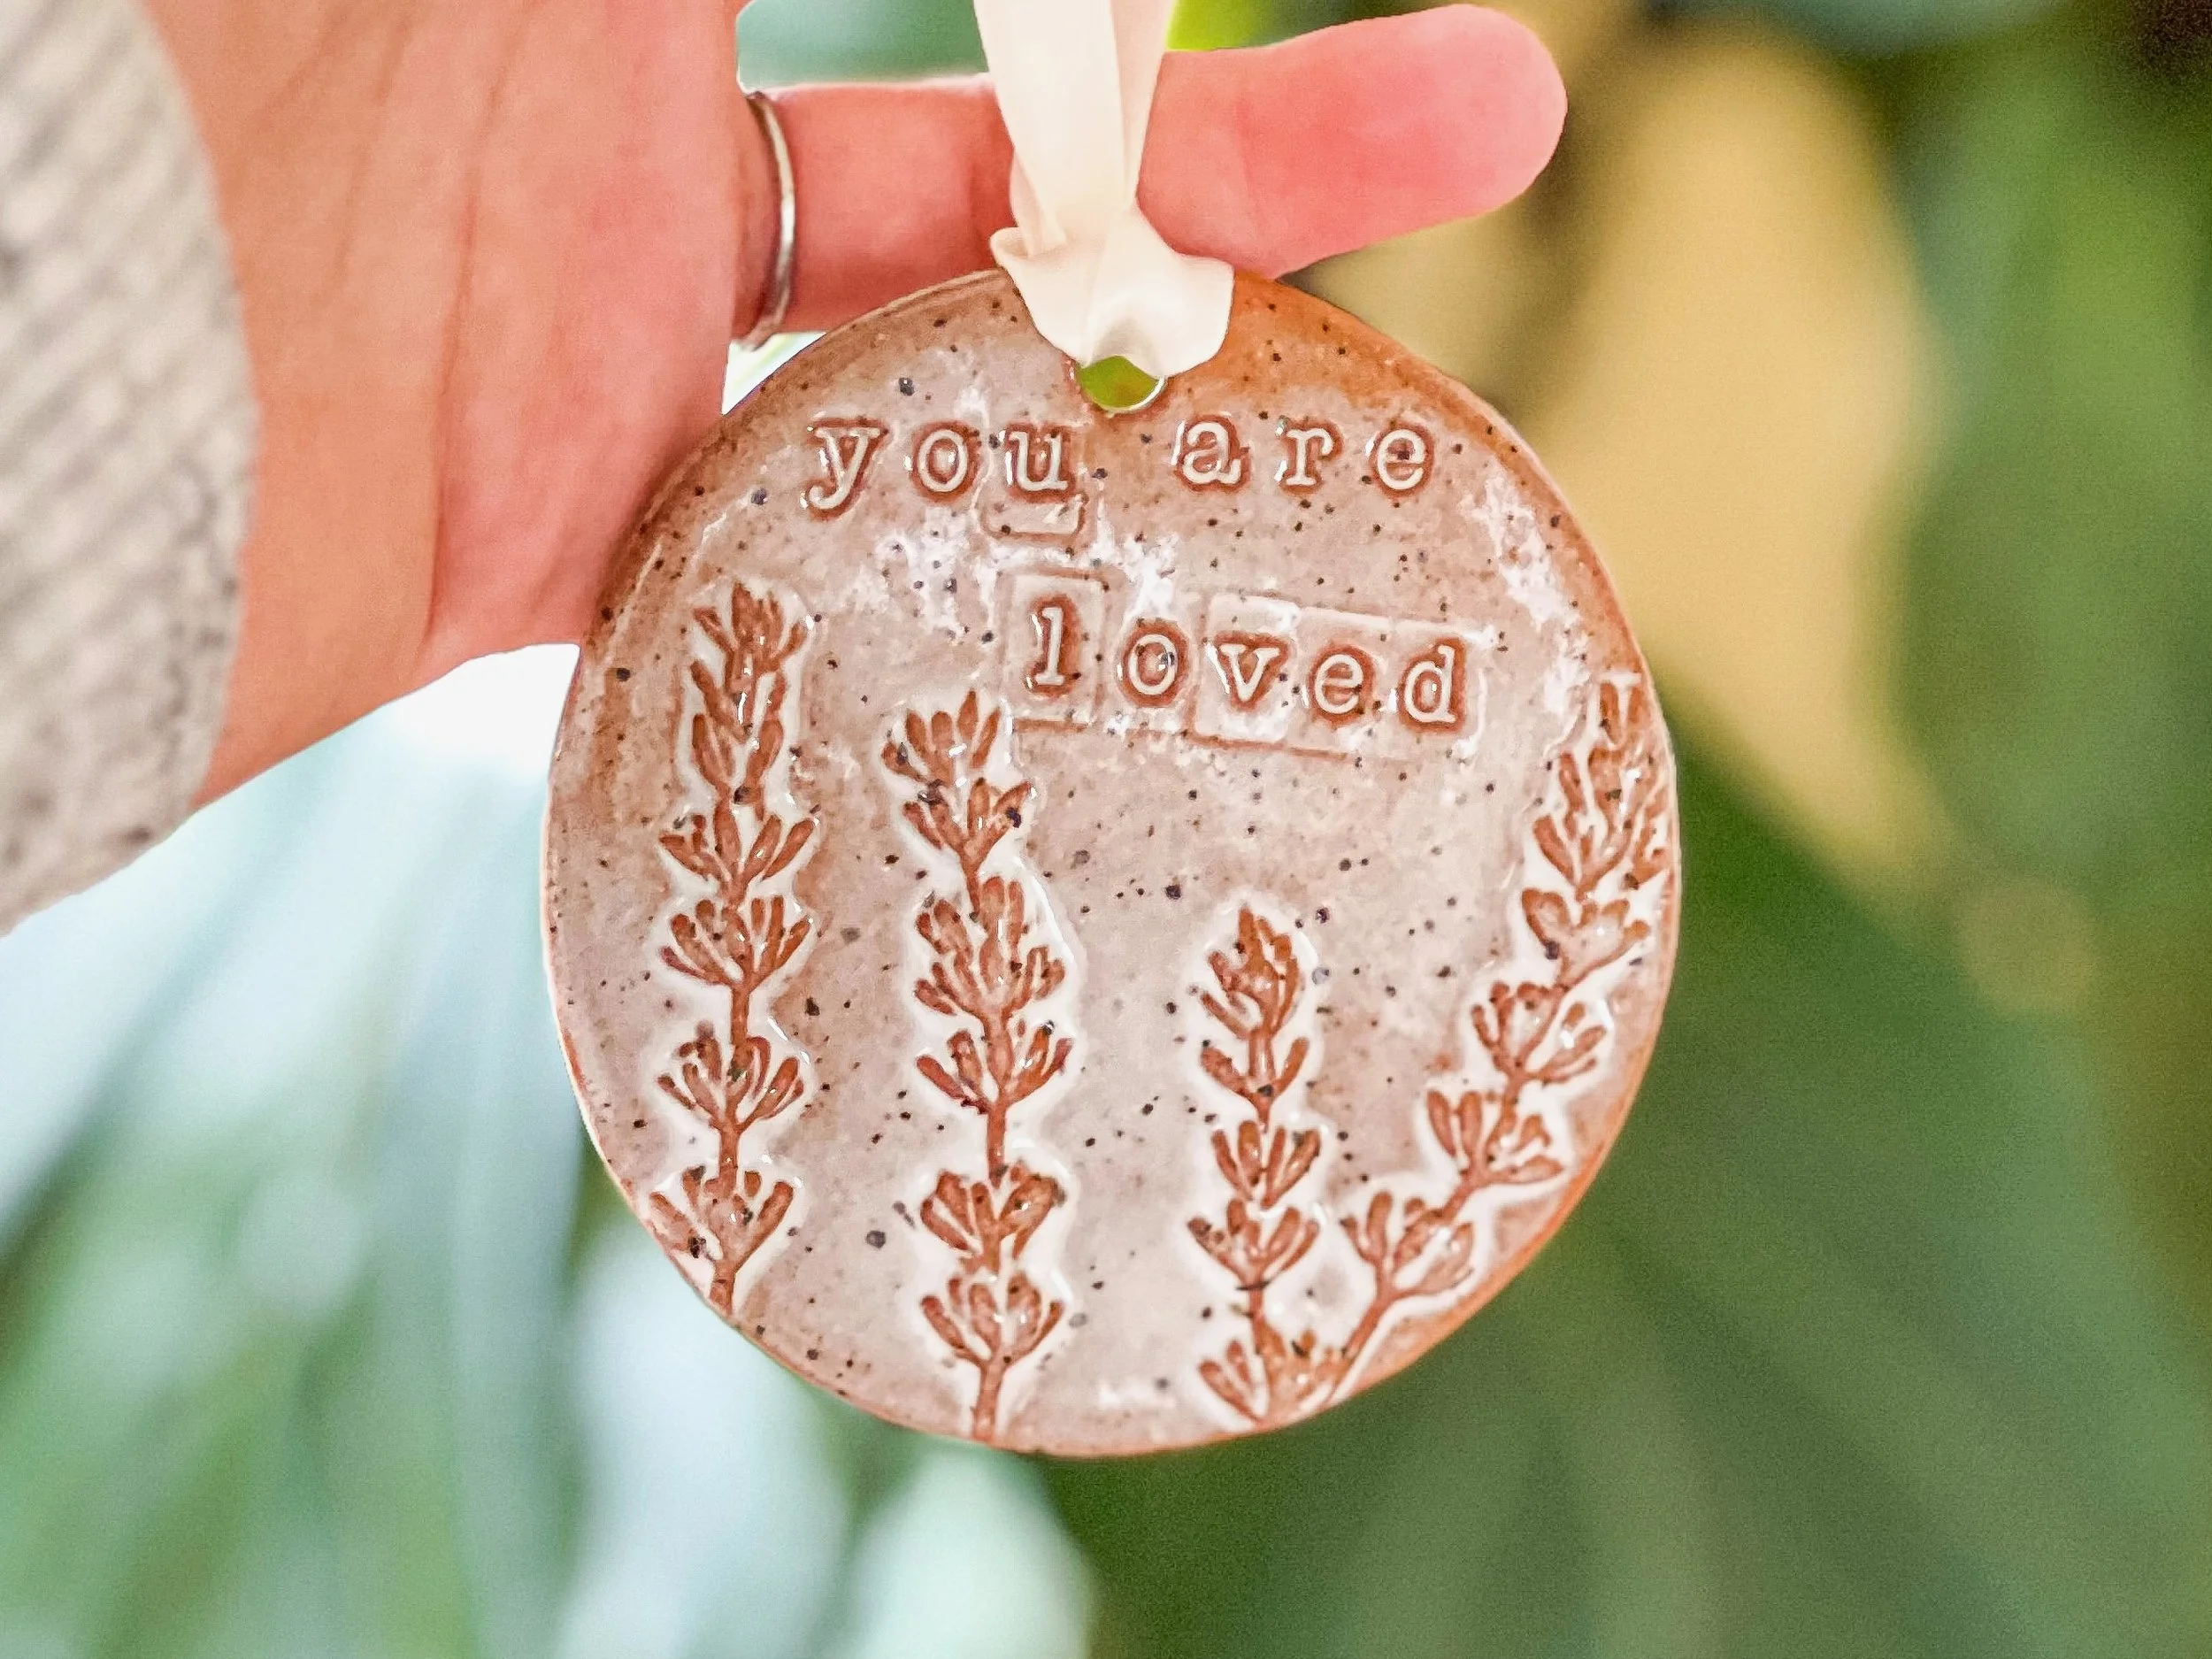
This ornament is glazed on the front, and is unglazed and signed on the back.
If you're thinking of making ornaments for this holiday season, here are some tips for firing!
Should I glaze my ornaments on both sides?
You can (see next section), but you certainly don't have to. By far, the simplest way to make ornaments is to leave the back unglazed and fire them flat. Generally you can arrange ornaments to have the right side face out, and you can also make the back beautiful even without glaze!
One way to add colorful designs to unglazed areas
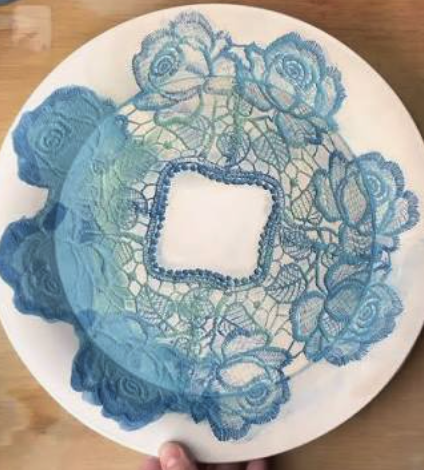
Underglaze on an unglazed surface. See video here!
1. Add texture to the back of your ornament when you're making it.
2. After the piece is bisqued, paint thin underglaze** on the side you plan to leave unglazed, being sure to get it in your texture.
3. Wipe the underglaze away with a damp sponge, leaving it only in the texture.
4. Wax and glaze your piece as usual.
See an example of this technique.
**Unlike glaze, you can put underglaze on the bottom of your piece and it won't stick to the kiln, so this is a great way to add some beauty to your unglazed parts.
Also, take advantage of our new 1 inch firing pricing! $3 for 1/4 shelf, $6 for 1/2 shelf, $15 for a full shelf!
What if I decide I do want glaze on both sides?
Yes, you can do this, you just need a firing plan! Here are a couple ways to do this. Please note that both require purchasing firing equipment, and both should always have a cookie underneath.
Please note, firing equipment should always be rated for cone 6 or above! Please don't buy cheap ones from amazon or walmart.
1. Use a bead tree like this one. We have a limited selection for sale in our gallery.
2. Use stilts like these. We have a limited selection for sale in our gallery.
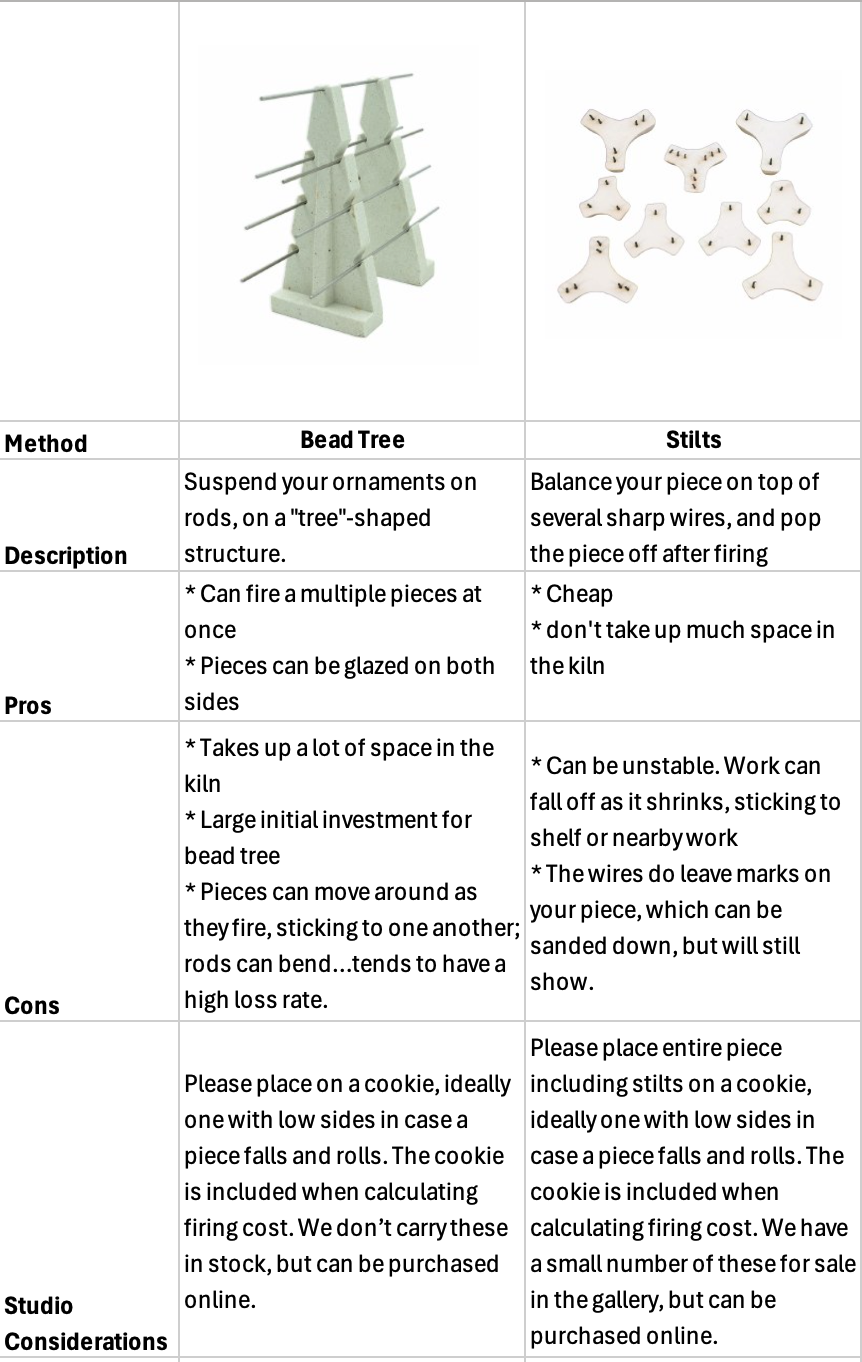
See links above for examples of these to purchase. And please watch this video if you plan to use a bead tree!